I left my favorite MAC cremesheen lipsticks in the car the other day and the blazing Atlantan summer just about melted them into extremely spiky lipsticks.
I could technically reshape them because they are my go-to everyday nude colors: Shanghai Spice and Koi Coral
… but last week I decided to head over to Sephora on my lunch break and pick up another lip product I’ve had my eye on for a while.

Originally, I went to see the new Confession Ultra Slim High Intensity Refillable Lipstick, tried it out (several shades actually) and found them to be a bit too drying for my preference. I know the current (and phasing out trend) is matte but the formulation was slightly chunky although very pigmented. While it claims to be hydrating, I didn’t get that effect. I definitely will say the packaging was captivatingly classic, finished in a slim, gold tube. I probably will conduct a more in-depth review on the Confession lipstick to see if my impression of it changes.
The Hourglass GIRL Lip Stylo

This chubby crayon with a fine tip is hydrating and easy to use. All you have to do is turn the bottom of the casing to dispense more product.
Cost: $32 US Dollars
Size/Amount of product: 0.09 oz or 2.5g or usable product
Available at your local Sephora and Hourglass.com.
Description: Precision color meets luxurious hydration. GIRL Lip Stylo features the color intensity of a lipstick fused with a luxurious blend of shea butter, jojoba, mimosa and sunflower seed for softer, fuller lips. The silky formula glides across lips for a second-skin feel with a lustrous finish.
First Impression: It’s silky with a lustrous sheen (minus all of the glitter). It warms up on the skin nicely and packs a fair amount of pigmentation. I found the stylo easy to use and as always, the packaging is captivating.
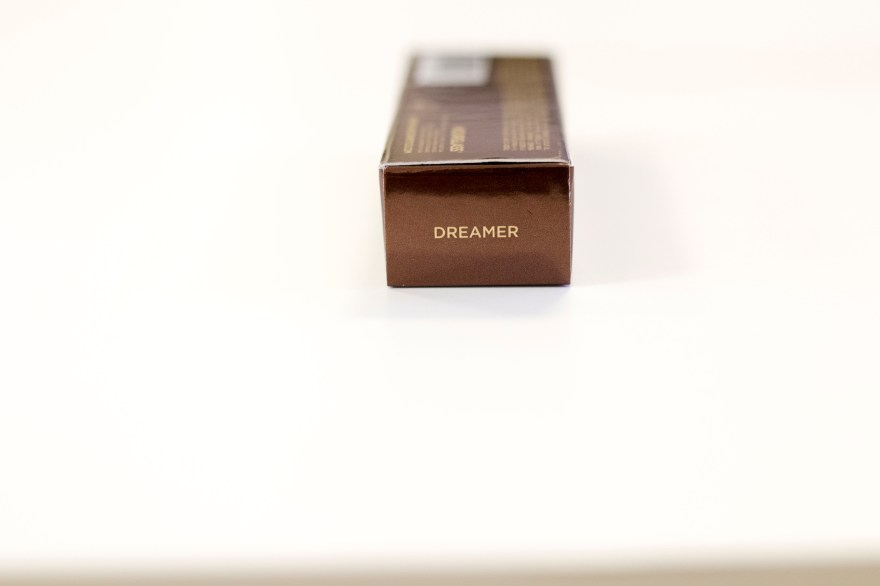
Shades available: 20. Hourglass created 20 amazing shades from bare face ready nudes to head-turning darkened berries. I love the names because they are so empowering (such as futurist, dreamer, creator, activist, or visionary) and inspiring.
Finish: satin. It has the right amount of sheen that can only be described as if you apply a high quality sunflower oil lip balm over a watercolor wash of tint. The finished look ever-so-lightly catches the light and the pigmentation carries so much nuanced depth to it without looking flat and boring. It’s very balmy and quite sheer if you don’t layer it.
Formulation/texture: cream. This lip stylo goes on like butter. All too often I’ve had to work with products that no matter how much prepping you’ve done, the product still requires a good amount of effort to make it “look good” (especially if it clings and goes on dryly). Even if you decide to go for a matte finish overall, it shouldn’t be hard for one to apply.
Coverage: Medium. Even the nude colors have a fair amount of pigmentation although I find myself having to thoroughly go over my lips to cover translucent spots. You can layer this product, concentrating on different areas of the lips resulting in different looks but beware of applying too much product because it’ll start to look goopy.
Workable: Like I mentioned before, it’s buildable and creamy in texture. It feels light on the skin and noticeably smoothens the overall texture of your lips without bleeding into any fines lines around the mouth area. However, one thing I will definitely mention is although it starts off looking very smooth and nice, this product started to dry my lips out of the several days that I wore it.

Longevity: It’ll stay on for less than four hours and seems to transfer. Because it’s so slick and creamy in formulation, I highly recommend lining the lips with lip liner to adequately define your lips. If you’re going out or preparing for a long day with less touch ups, go the extra mile by lining your entire lips with lip liner, applying one layer of color, blot it off with a tissue paper just until you’ve removed 75% of the lip product, and then finally applying another layer of color without blotting it off.
Application: I applied the color straight from the packaging itself. All I did was twist the bottom piece of the stylo tubing up and apply it directly onto my lips that have already been prepped with a lip balm. You can definitely use a lip brush but I found the stylo concept to be directed for a more use-on-the-go type of lifestyle (which is totally me!).
Dry lip friendly: Not really. Be sure to exfoliate because after a while, the GIRL Lip Stylo settles into those patches and accentuates them.
Lip liner friendly: Yes. Check out Hourglass’ Panoramic Long Wear Lip Liner ($30). But honestly, any creamy lip liner will do as long as it matches the shade you use.
Packaging: The lip stylo is packaged in a shiny yet chubby, crayon-looking metal tube that’s about 0.75″ in diameter. The pull-off cap and stylo body are both in what I call the signature Hourglass brown (see pictures) and feels both dense and sturdy in hand. The inside of the pull-off cap houses a mold/shell that sharpens your stylo so it’s always ready for use.

The Verdict: I wanted to love this product so much but I actually ended up returning it in the end for a variety of reasons. I can live with exfoliating daily and the extra minute or two to layer this product on. However, I began to notice how my body was reacting to it and that was enough for me to change my mind. What happened to me is just a specific case of a lipstick causing dry, patchy lips, but it could work for you so try it out if you’ve been considering it. I would have to say I like the GIRL Lip Stylo more for the packaging and for the Hourglass brand itself. If you are sensitive to extraneous chemicals, looking for a full coverage lip product, or wanting a longwearing lipstick, I would not recommend this. I was torn between the pros and cons and ultimately, I ended up picking up some MAC products instead.
Thank you for reading this review and please subscribe to stay posted on new articles!